Mastering New Plugin Deployment: Your Essential Guide to Safe eCommerce Checkout Testing
Hey there, fellow store owners and ecommerce operators! Ever found yourself staring down a shiny new plugin, especially one as crucial as a checkout flow, and thinking, "How on earth do I test this without accidentally breaking my live store and sending customers fleeing?" You're definitely not alone. It's a question that pops up constantly in our community discussions, and for good reason!
Recently, a store owner running a WordPress WooCommerce shop asked just that. They'd invested in a new checkout plugin and wanted to ensure every single detail – from the cart and checkout flow to styling and backend functionality – was perfect before going live. The big question: what's the safest, most professional way to do this without impacting current visitors?
Why Testing Your Checkout Plugin is Non-Negotiable
Let's be real: the checkout process is the heart of your ecommerce store. Any hiccup here means lost sales, frustrated customers, and a potential hit to your brand's reputation. A new checkout plugin isn't just a visual tweak; it often involves complex integrations with payment gateways, shipping APIs, tax calculations, webhooks, and email notifications. These aren't things you want to debug live.
As one community member wisely pointed out, "For WooCommerce checkout plugins specifically, staging is the safest and most realistic because payment gateways, webhooks, emails, taxes, shipping APIs, SSL, and third-party services often need a publicly accessible URL to function correctly." This really hits the nail on the head. You need a testing ground that mimics your live environment as closely as possible, ensuring that every piece of the puzzle, from Stripe to your shipping carrier, communicates flawlessly.
Local vs. Staging: Understanding Your Options
The discussion quickly centered around two primary approaches: local development environments and staging environments. Many experts in the thread advocated for a hybrid strategy, combining the strengths of both.
1. Local Development Environments: Your Private Sandbox
A local development environment is essentially a copy of your website running on your own computer. It's a fantastic place for initial development and testing because it's fast, doesn't require an internet connection, and you can break things without any real-world consequences. Popular tools include:
- LocalWP: A widely used, user-friendly tool specifically designed for WordPress development. It allows you to spin up new WordPress sites with ease.
- Docker Compose: For more advanced users or those working across different platforms, Docker Compose (as suggested by a community member) offers a clean and consistent way to set up isolated environments. It ensures that your testing environment precisely matches your production server's software stack.
Benefits: Quick UI/design changes, frontend and backend functionality testing, plugin compatibility checks, and rapid iteration without affecting your live site or needing an internet connection.
Limitations: Local environments often struggle with integrations that require a publicly accessible URL. This includes payment gateway callbacks, webhooks from third-party services, and real-time shipping API calculations.
2. Staging Environments: The Live Site's Mirror
A staging environment is a near-identical replica of your live website, hosted on a server that is publicly accessible but not indexed by search engines. It's the ideal place for comprehensive, end-to-end testing, especially for critical components like your checkout flow.
Benefits:
- Real-world simulation: Payment gateways, shipping APIs, tax services, and webhooks can all function as they would on your live site.
- Public accessibility: Essential for testing integrations that require external communication.
- Team collaboration: Multiple team members or testers can access and test simultaneously.
How to set it up: Many hosting providers offer one-click staging environments. Alternatively, cloning plugins (like WP Staging for WordPress, as recommended by a community member) can quickly create a copy of your site for testing. This allows you to "safely run full checkout flows without affecting real users."
The EShopSet Recommended Workflow: A Hybrid Approach
As another community member aptly put it, the best strategy is often to "do both." Start with a local environment for quick UI/design tweaks and basic plugin functionality. Once you're confident in the core features, move to a staging domain for final checkout testing with real payment gateways, emails, shipping APIs, and webhooks. This hybrid approach combines the speed and safety of local development with the realism and comprehensive testing capabilities of a staging environment.
Many checkout issues, as observed by a community member, "only show up once everything is running on a publicly accessible URL."
Beyond WooCommerce: Universal Principles for All Platforms
While the original discussion centered on WooCommerce, these testing principles are universal across all major ecommerce platforms:
- Shopify: Utilize development stores or theme/app testing environments before pushing changes to your live store.
- Magento: Leverage dedicated staging instances that mirror your production environment for complex module deployments.
- Wix: Use sandbox sites for testing new apps or custom code. For platforms like Wix, ensuring optimal performance is crucial, and a staging environment allows you to thoroughly test new features while utilizing tools like a Wix web vitals monitor to assess impact before going live.
- BigCommerce, PrestaShop, and others: Most robust platforms offer similar staging or sandbox options to facilitate safe development and testing. Always consult your platform's documentation for their recommended best practices.
EShopSet: Empowering Your Testing & Operations
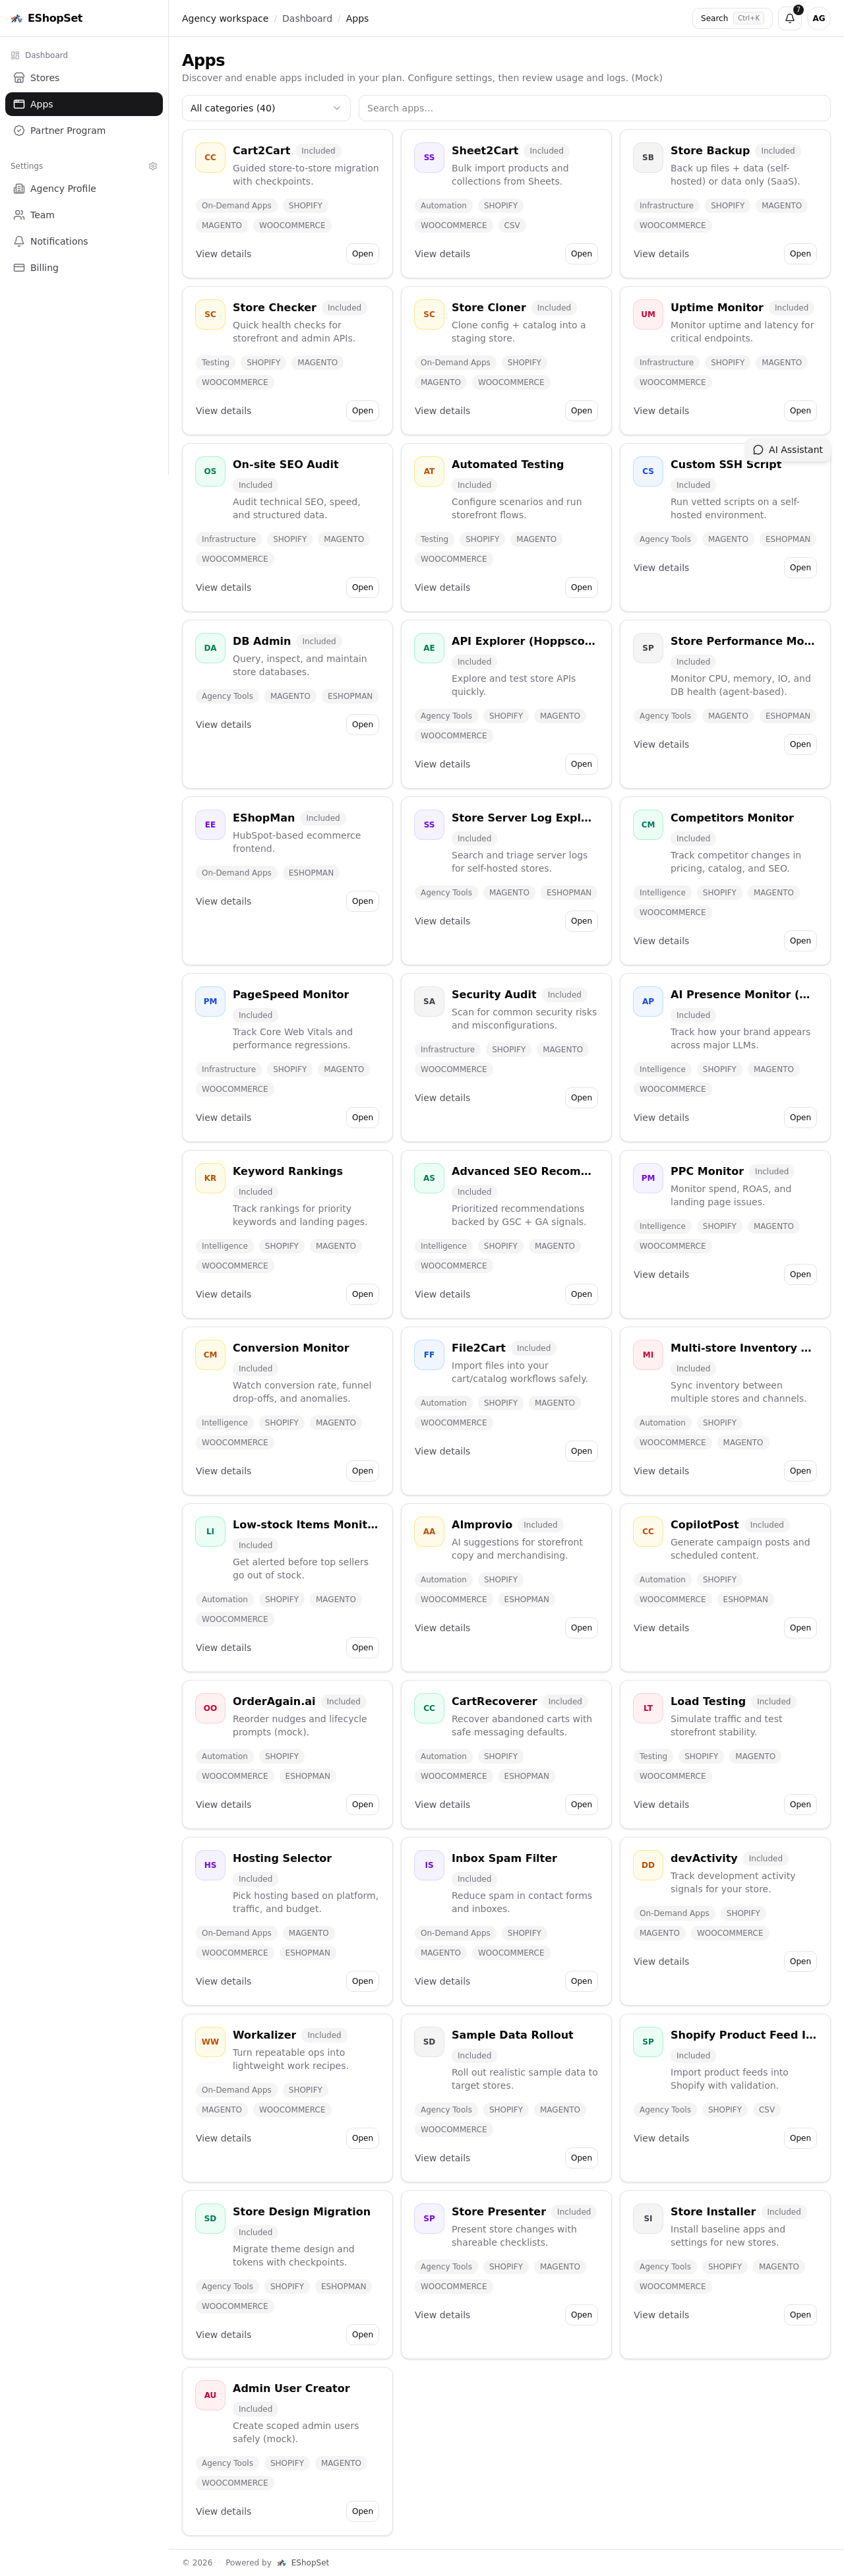
At EShopSet, we understand the complexities of managing an ecommerce store. Our apps-first commerce operations bundle is designed to streamline your workflow, from discovering new tools to monitoring their performance. When you're testing new checkout plugins, EShopSet can be an invaluable partner:
- App Marketplace: Discover new apps, enable them per store, and configure settings. This is where your journey with a new checkout plugin begins.
- Monitoring & Logs: Once your plugin is live (or even on staging if accessible), EShopSet's monitoring tools allow you to track usage and logs, helping you quickly identify and troubleshoot any post-deployment issues. This includes uptime monitoring, performance insights, and error tracking.
- Backup & Restore: While testing, having a solid backup strategy is non-negotiable. EShopSet offers robust backup solutions to give you peace of mind, knowing you can always revert if something goes wrong during or after a deployment.
- Performance Analytics: Beyond basic functionality, consider the impact on site speed and user experience. EShopSet's performance monitoring apps can help you track metrics similar to what a Wix web vitals monitor provides, ensuring your checkout remains snappy and efficient across all platforms.
Explore our full suite of apps at eshopset.com/apps/ to see how we can support your store's growth and operational excellence.
Key Testing Best Practices
To ensure a flawless launch for your new checkout plugin, consider these best practices:
- Use Sandbox Modes for Payments: Always configure payment gateways (e.g., PayPal, Stripe) to use their sandbox or test modes in your staging environment. Never use live payment credentials for testing.
- Employ Dummy Data: Create realistic but fake customer and order data for your tests. Avoid using real customer information on staging.
- Develop Comprehensive Test Cases: Don't just test a successful purchase. Test various scenarios: failed payments, different shipping methods, applying coupon codes, guest checkout, logged-in users, different browsers/devices, and edge cases (e.g., empty cart, invalid addresses).
- Verify Email Notifications: Ensure all transactional emails (order confirmations, shipping updates, abandoned cart reminders) are sent correctly and display the right information.
- Monitor Performance: Pay attention to page load times and overall responsiveness. A slow checkout can lead to high abandonment rates.
- Have a Rollback Plan: Despite thorough testing, issues can sometimes arise in production. Always have a clear plan to revert to your previous checkout solution quickly if necessary.
Conclusion
Deploying a new checkout plugin is a significant step for any ecommerce store. It promises improved conversions and a better customer experience, but only if executed flawlessly. By embracing a disciplined approach to testing – leveraging both local and staging environments – you can mitigate risks, ensure compatibility, and confidently launch new features without impacting your live store or frustrating your valuable customers. Proactive testing isn't just a best practice; it's a cornerstone of successful ecommerce operations.